Mass Payouts With ResaleWallet
ResaleWallet payouts use the ResaleWallet ACH payment account. The payment account you choose controls which payouts are part of the mass payout range.
ResaleWallet Processing Time
ResaleWallet processes payments at 5:00 PM Eastern, which is 4:00 PM Central. Payments entered on Saturday or Sunday are processed at 5:00 PM Eastern on Monday. West Coast stores should submit payments in the morning so they are entered before the daily processing time.
- To payout in mass, go to Activities > Accounting > Account Payments.
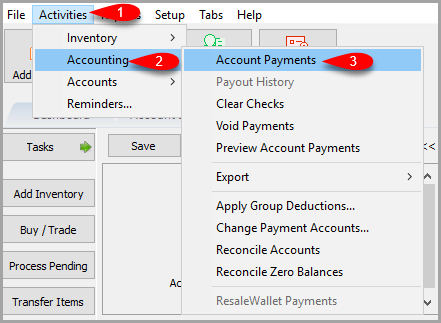
- You will now be able to set your filters on accounts and dates you want to do the mass ACH payout on.
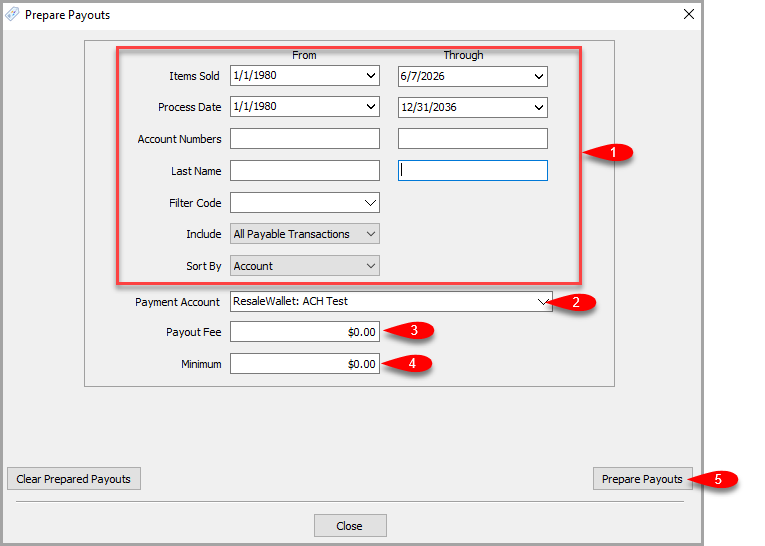
- Set the filters for Items Sold and any other criteria you need to filter your payouts with.
- Make sure that for Payment Account, the ResaleWallet: option is selected.
- If you wish to add a Payout Fee you can, but keep in mind that for ResaleWallet a $2.50 fee will be taken out of the consignor's payout when they Receive it. For your accounting purposes, your software will reflect that you paid out the full amount.
Example: If you pay out $100.00 to a consignor, when they receive their payout it will be $97.50, however your system will reflect that you paid out $100.00. - Type in the Minimum Payout amount you are willing to payout as part of this Mass Payout.
- Click the Prepare Payouts button.


Processing The Mass Payout
Liberty shows the Post Payout dialog with the payout amount, the fee, the payment account, the payout number, the Digital ID, and the service fee warning.

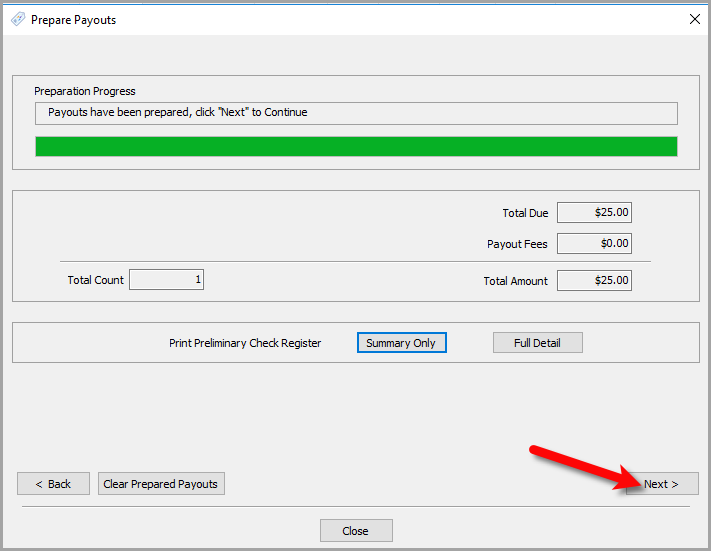
- Review the payout amount, payout fee, total count of checks and Total Amount.
- Click which type of Preliminary Check Register you wish to view / print.
- You will see the Preliminary summary report where you can review further details before continuing.
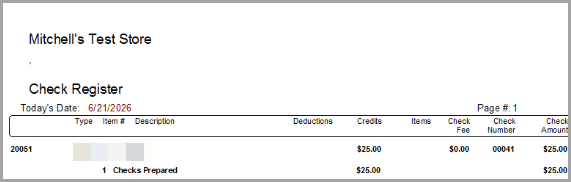
- You can Print, Save The Report, or Save as PDF for your records if you wish.
Close the report when finished

- Click the Next button when you are ready to continue.
- The prepared payout screen lists the payout ID, date, account number, client, Digital ID, amount, batch number, payout number, wallet flag, total, and status. Use it to confirm the expected payouts were prepared before you send.
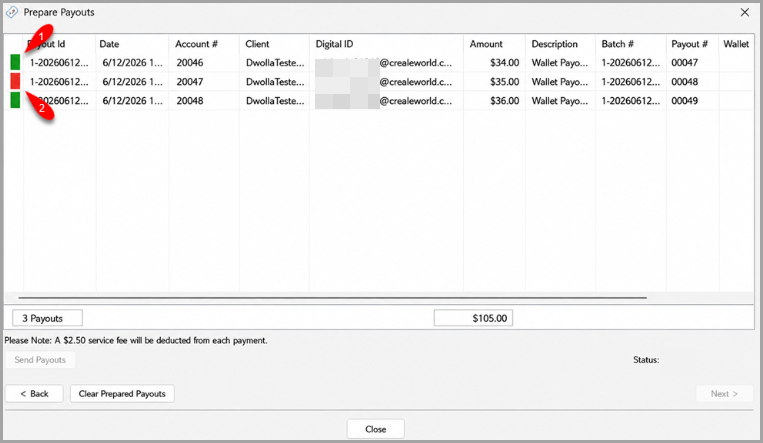 The Prepare Payouts screen. A red indicator marks a payout with a problem. Remove it, then send the rest.
 - A green indicator means the payout has been sent.
- An orange indicator means that there is a missing Digital Payout ID (email) on the account.
- A red indicator means that the payout failed to send.
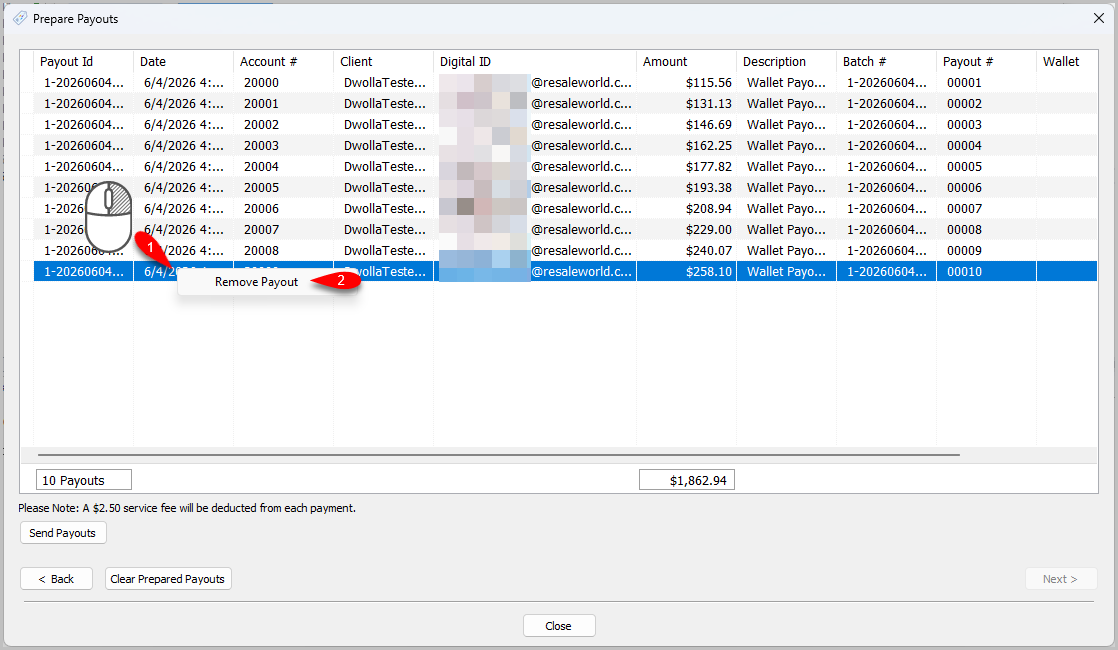
- You can also remove payouts by right clicking on a payout and clicking Remove Payout.
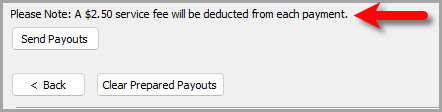
- Note the Please Note: A $2.50 service fee will be deducted from each payout message as mentioned before.
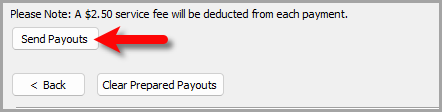
- Click the send payouts button when you are ready to proceed.
- You will receive a Processing Completed! dialog box.
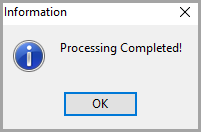
Note: If one payout fails, the rest will still process.


Viewing the Check Summary Report
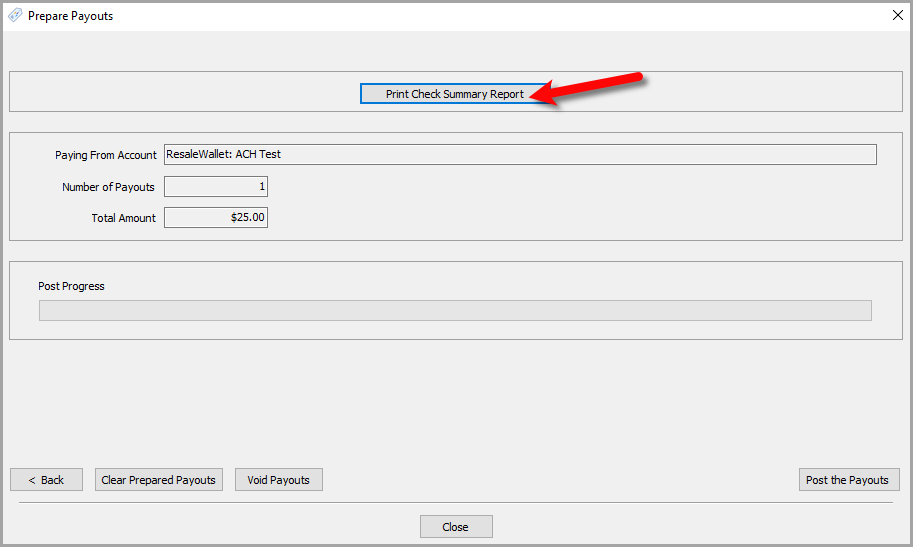
- You can now view the Check Summary Report by clicking Print Check Summary Report.
- The main view for the Check Register will appear for you to review. You can Print, save or create a PDF of the report from the top left corner.
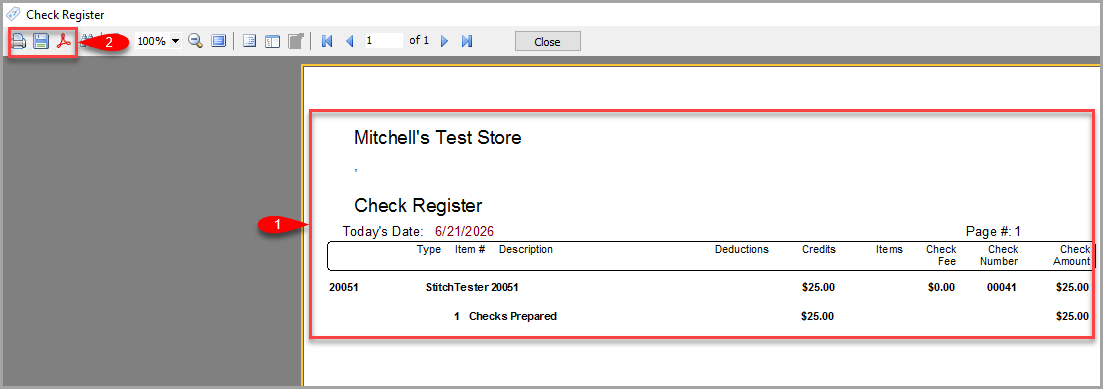
- Click the Close button when finished



Posting The Mass Payout
Now we are ready to post the payouts to the client accounts so that the balances show as paid.
- Click the Post the Payouts button.
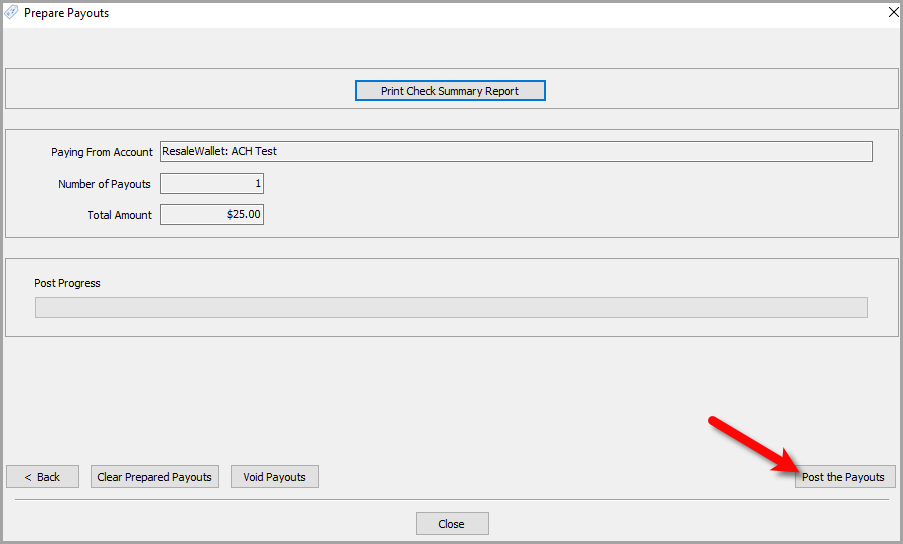
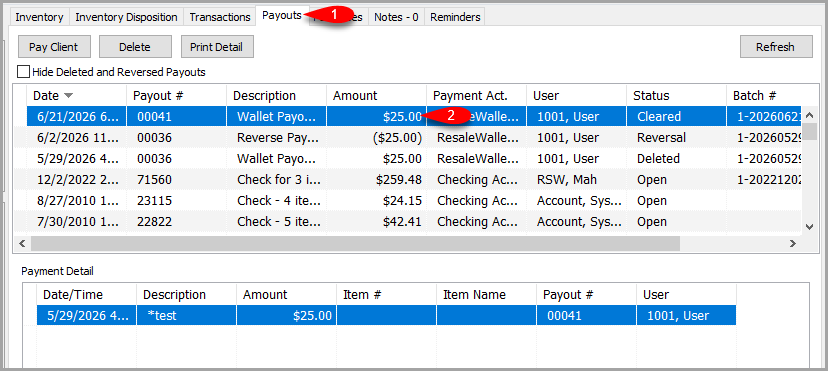
- The payout will now show as cleared in the client's account under the Payouts tab.


Next Article In Section
Click the following link to move to the next article in this section:
Checking The Status of an ACH Payout
Related Topics
ResaleWallet Store Guide Overview How To Set Up And Pay Consignors With ResaleWallet Set Up Your Business Entity Add a Bank Account Required Consignor Fields Paying Out A Single Client With ResaleWallet Mass Payouts With ResaleWallet Checking The Status of an ACH Payout What Consignors Receive ResaleWallet Dashboard Store Troubleshooting Payment Limits