How To Download and Setup The Liberty Photo App for iOS
To view the companion video for the following article, please visit the following page:
How To Download and Setup the Liberty Photo App for iOS Video
- Grab your iDevice and then open the App Store.
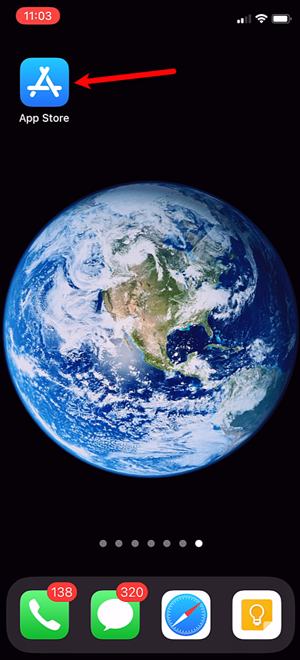
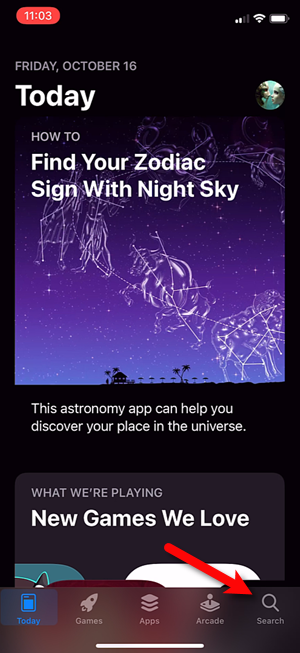
- Tap the Search button located at the bottom right corner.
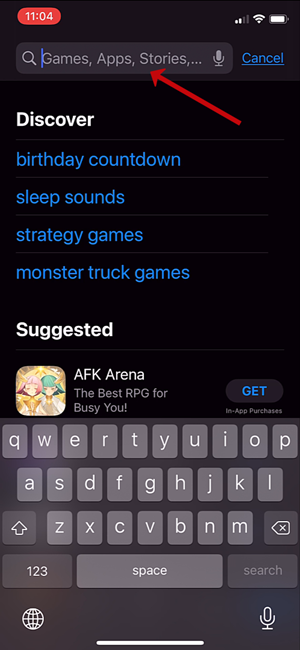
- Tap into the Search Field.
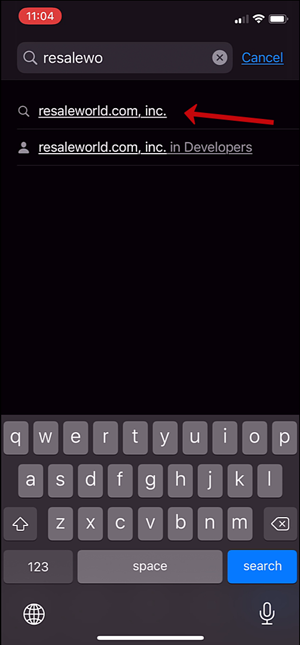
- On the on-screen keyboard, start typing in Resaleworld and then tap the very first entry you see. It should say Resaleworld.com, inc.
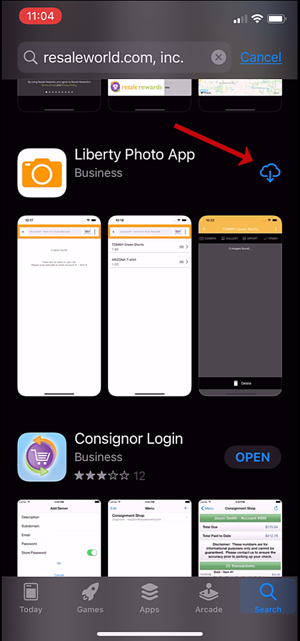
- Tap the Get icon. The app is completely free. You may see a Cloud Symbol, if you see this, this means you have downloaded this on another phone.
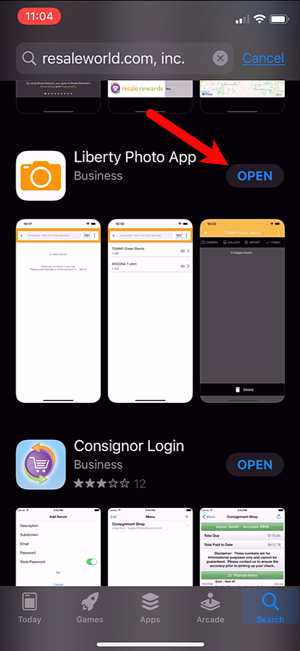
- Tap the Open button.
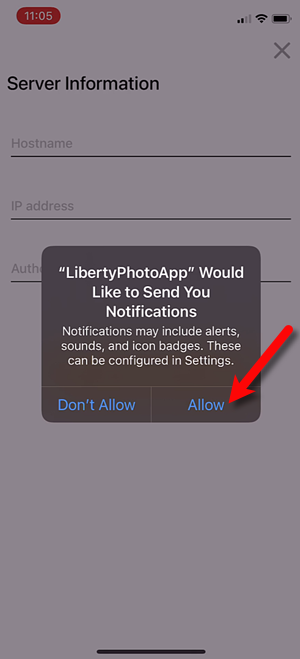
- Tap the Allow button.
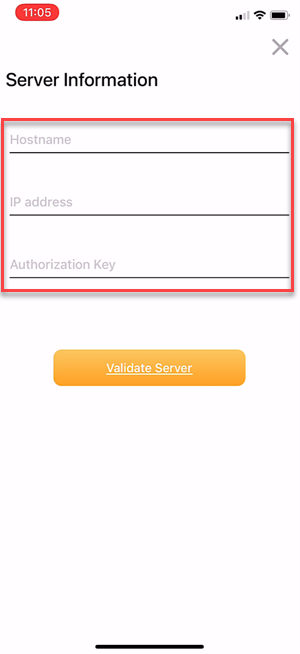
- We will now need to grab some information from your server computer in order to fill in the following information.
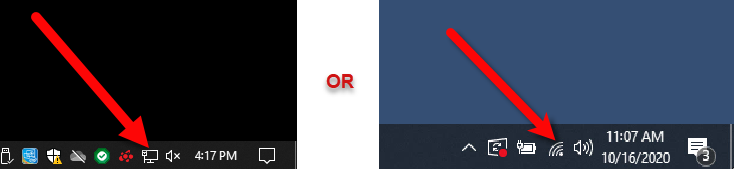
- Depending on if you are on wireless or a fixed ethernet connection, you will either click on the Wireless symbol or the Network symbol located at the bottom right hand of your screen. You may need to click the up ^ symbol if you don’t see it, in order to see other running apps on your computer.
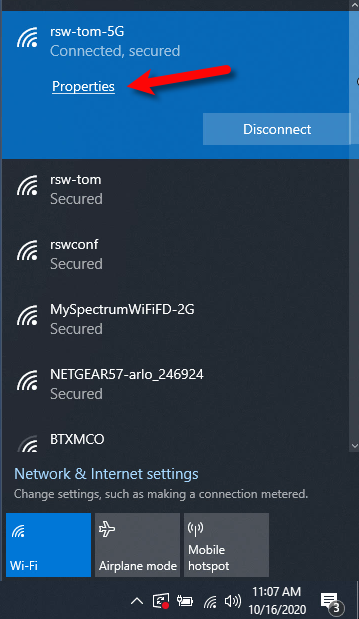
- Click on the Properties link.
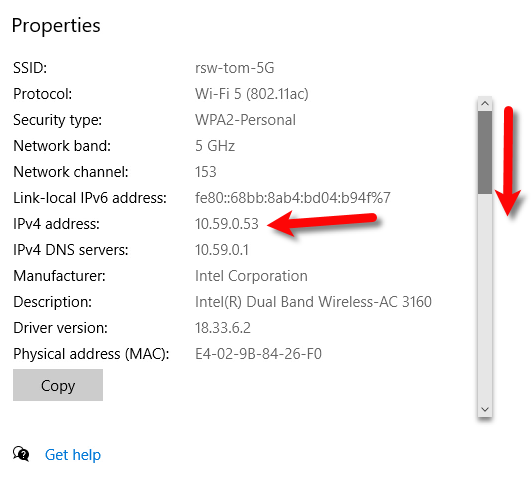
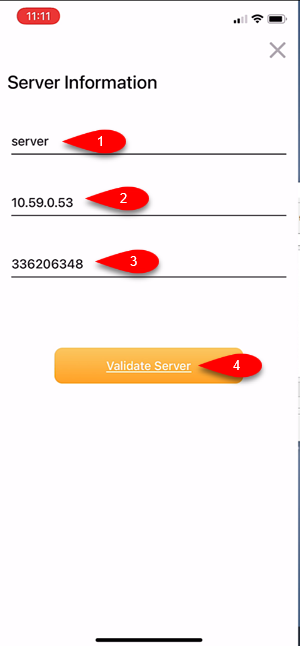
- Make a note of the IP Address that is associated with your computer. This is required so that your iDevice knows how to connect to your server computer.
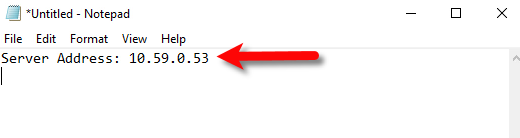
- You can use a program like Notepad or good old pen and paper to write down what you need to remember.
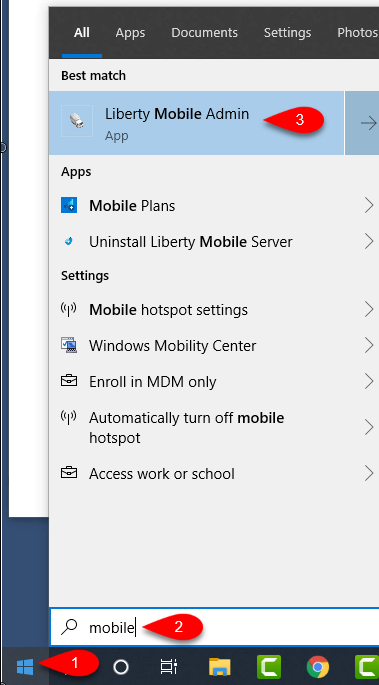
- Next, click the Start menu, then type Mobile and click on the Liberty Mobile Admin application or press the Enter key.
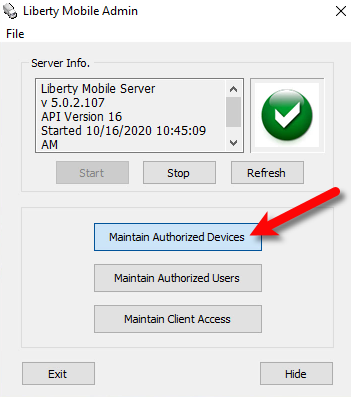
- Click the Maintain Authorized Devices button.
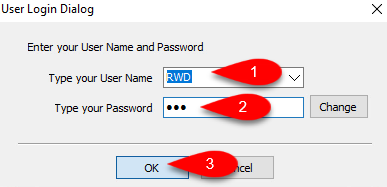
- You will get a User Login Dialog window, you must sign in using your Admin login, otherwise the application will not let you log in.
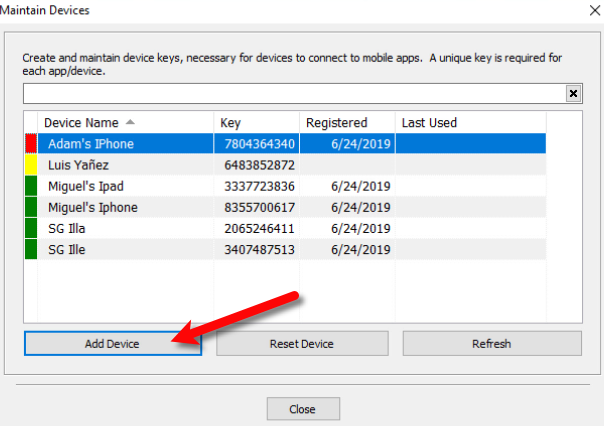
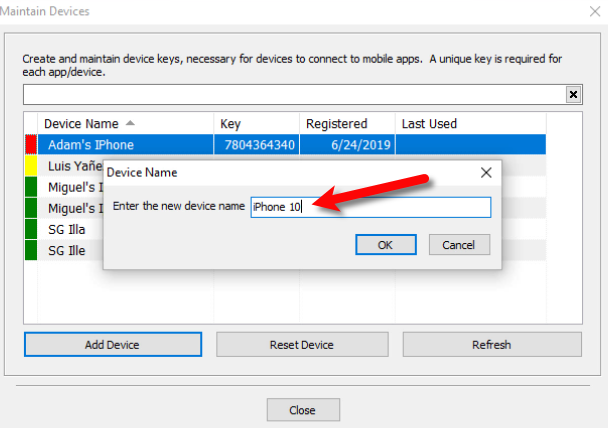
- Click the Add Device button.
- For the Enter the new device name field, input whatever you would like to name your iDevice. This is purely cosmetic and is for identification purposes.
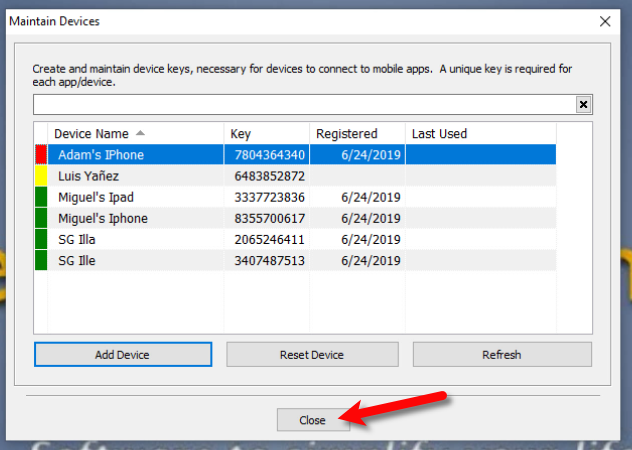
- Click the Close button.
- Fill in the Description, the name Server is usually fine. Then fill in the Server Address and the Device Key from what you recorded from your Server computer. Then, click the Validate Server button.
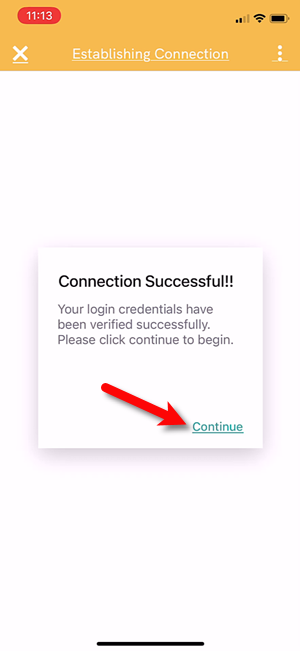
- Tap the Continue button.
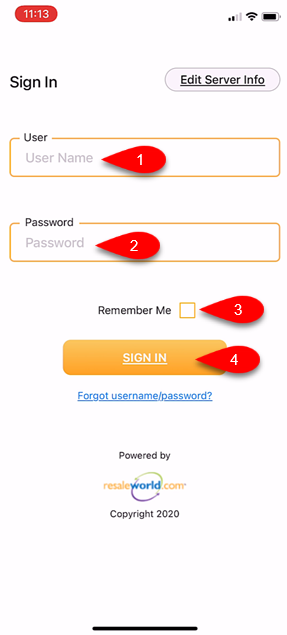
- Sign in with your Username and Password, then tap the Remember Me checkmark box if you want the application to remember your login details. Finally, click the Sign In button.
- Tap the Continue button.
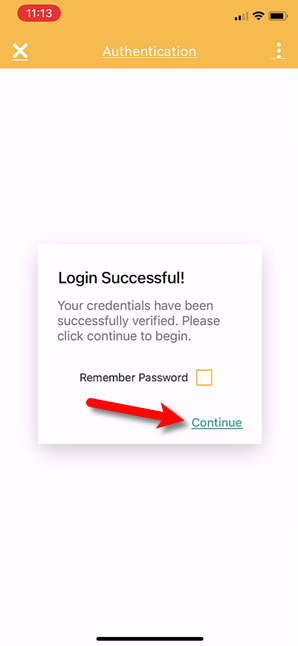
- You are now ready to start using the Liberty Photo App!



Next Article In Section
Click the following link to move to the next article in this section:
How To Use The Liberty Photo App for iOS Overview
Related Topics
How To Download and Setup The Liberty Photo App for iOS How To Use The Liberty Photo App for iOS Overview Opening The Liberty Photo App iOS How Use The Camera To Add Images To Items By Using Account - Item Number iOS How To Add Images To An Item Using A Barcode On The Tag iOS How To Add Images Using the Gallery Feature (From Your iDevice’s Library) iOS Using The Import Feature To Import Photos from iCloud, Dropbox or Google Drive iOS How to Edit A Photo That Is Attached To An Item iOS Editing The Settings Within Liberty Photo App iOS Placing a Watermark Image On Your Pictures iOS Changing Which Server You Want To Connect To iOS