Creating a ShopRW / Shopify Listing Overview
Here is the video that covers this content:
How To Create A Shopify/ShopRW Listing
If you are not sure how to add a regular listing or how to add a retail listing please visit the following pages before reading this article: Adding A Regular Listing Adding A Regular Listing Adding A Retail Listing Adding A Retail Listing
The following are definitions for what each of the fields represent when entering or editing a new web item listing.
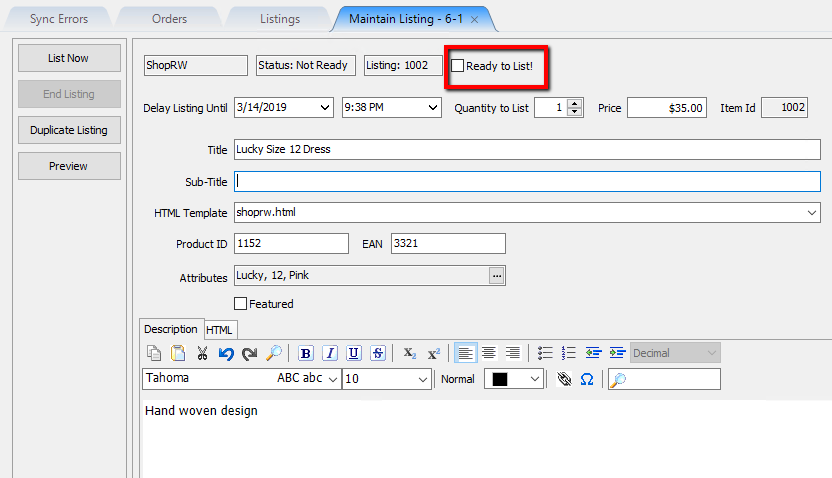
- Ready To List!: Specifies that the item is ready to be listed on the specified Marketplace.
Note: This is usually done after all other fields have been filled in.
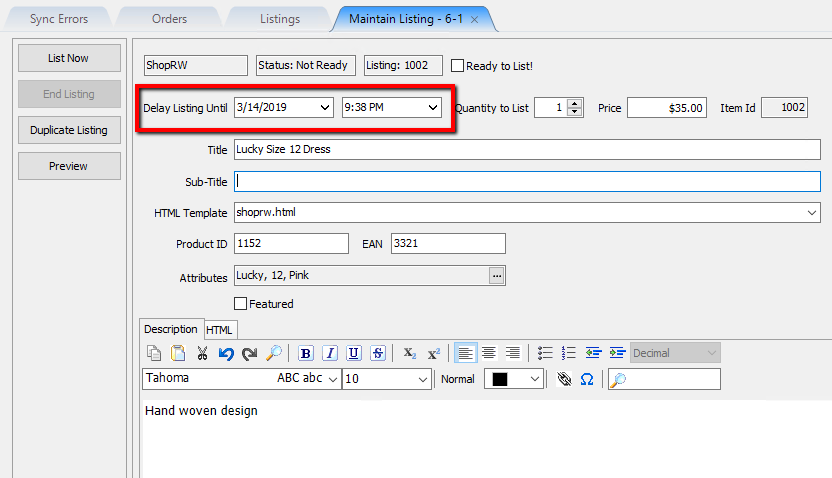
- Delay Listing Until: Allows you to set approximately the date and time the listing will push up to your chosen Marketplace.
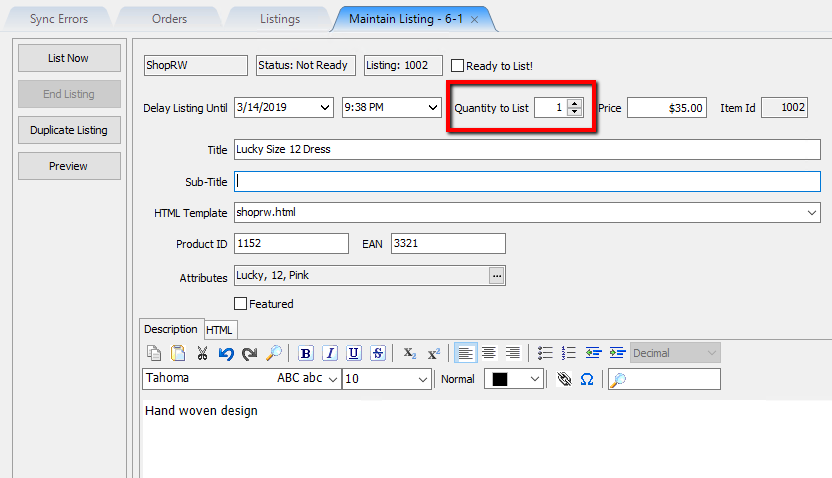
- Quantity to List: Number of items you wish to push up as a web listing based on available quantity.
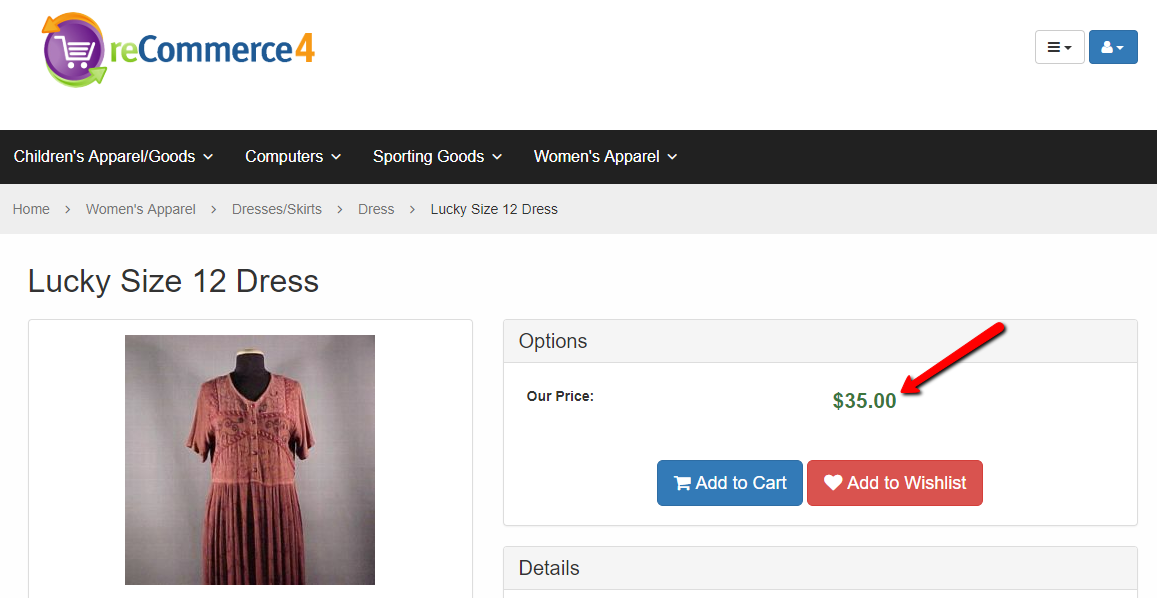
- Price: The price that the item will be listed for when pushed up to the Marketplace of your choosing.
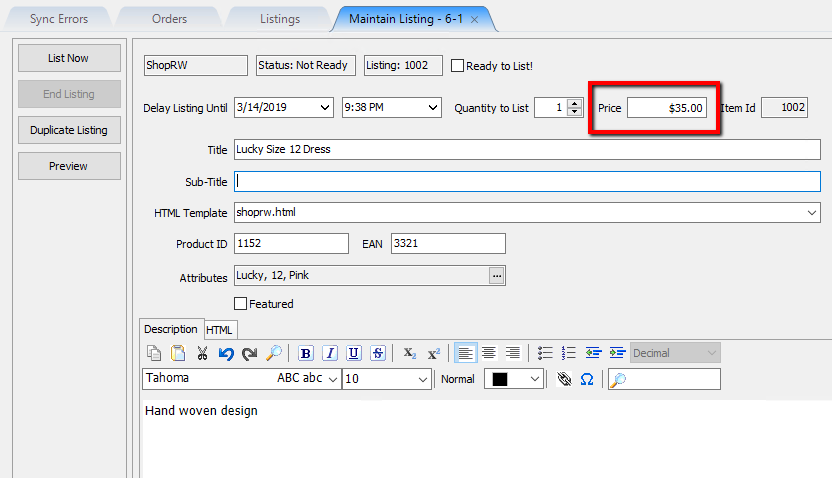
Example:
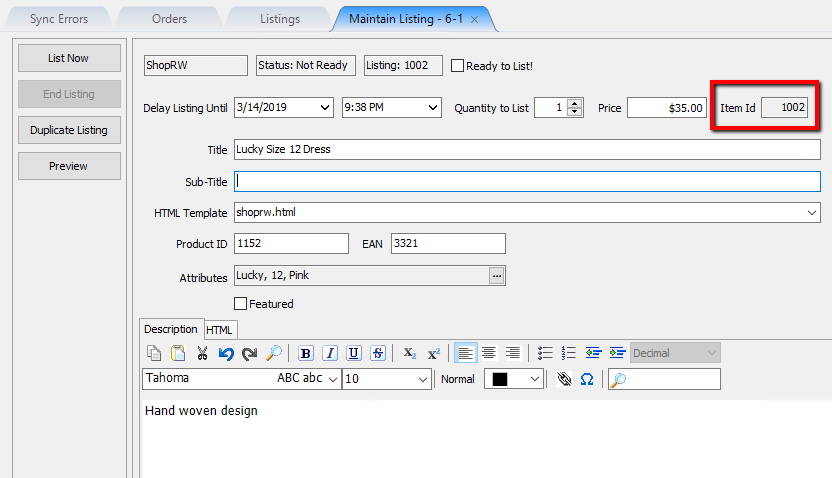
- Item Id: Unique Identifier that is given to every item added within Liberty. Allows for easy searching of any listed item.
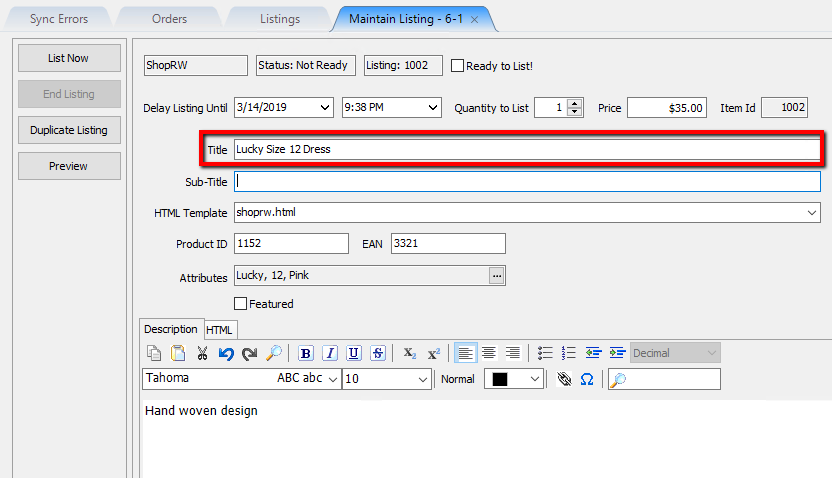
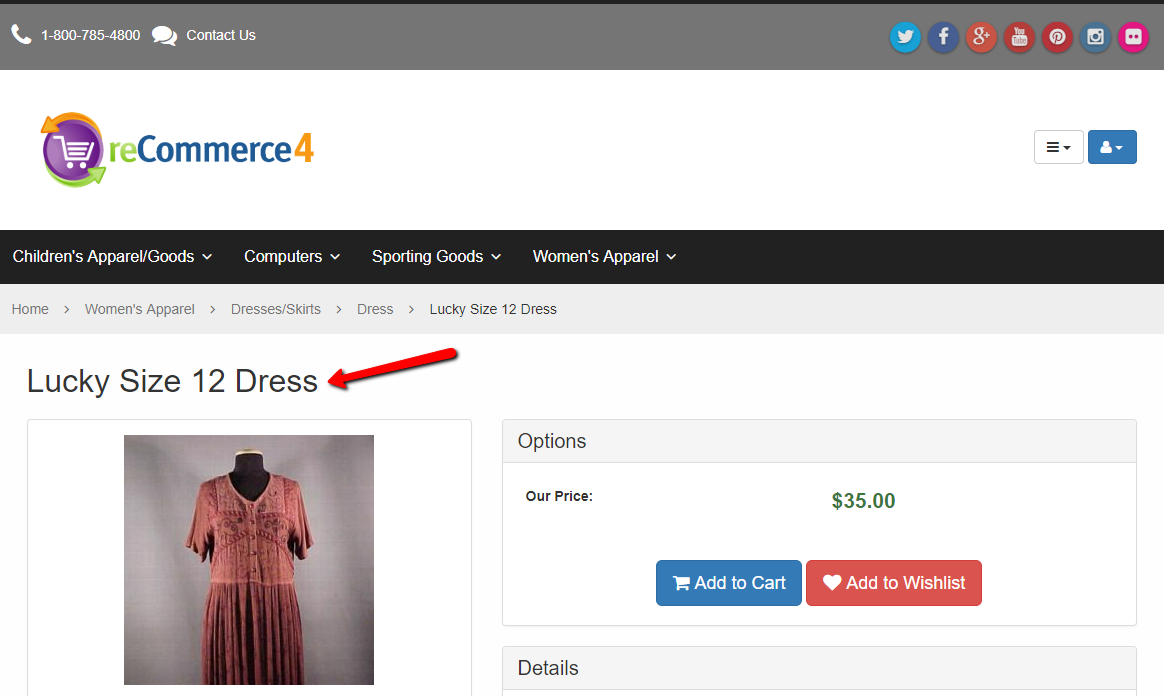
- Title: This is the text that will the title of your listing when a customer clicks on the item.
Example:
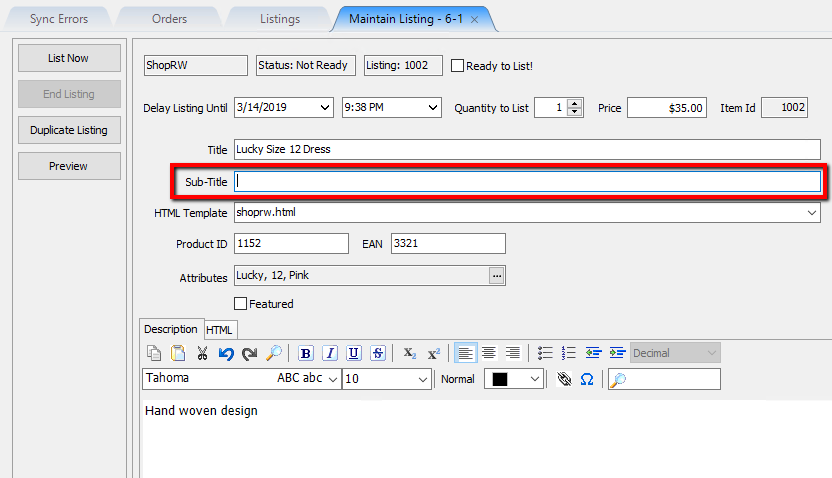
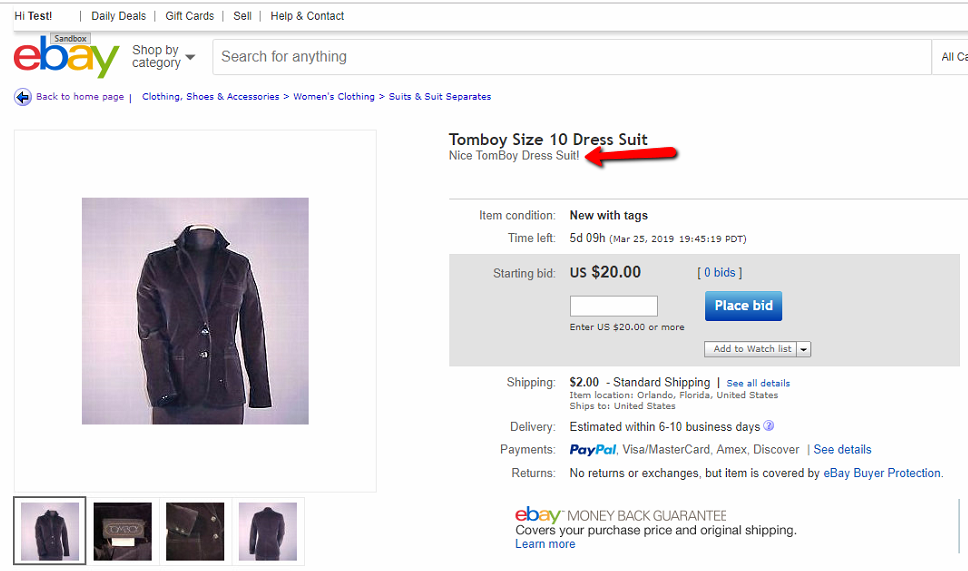
- Sub-Title: Will enter a smaller sub-text under the main text.
Note:This will only work for eBay listings and is filled out if you plan on pushing the item to both ShopRW/Shopify and eBay.
Example:
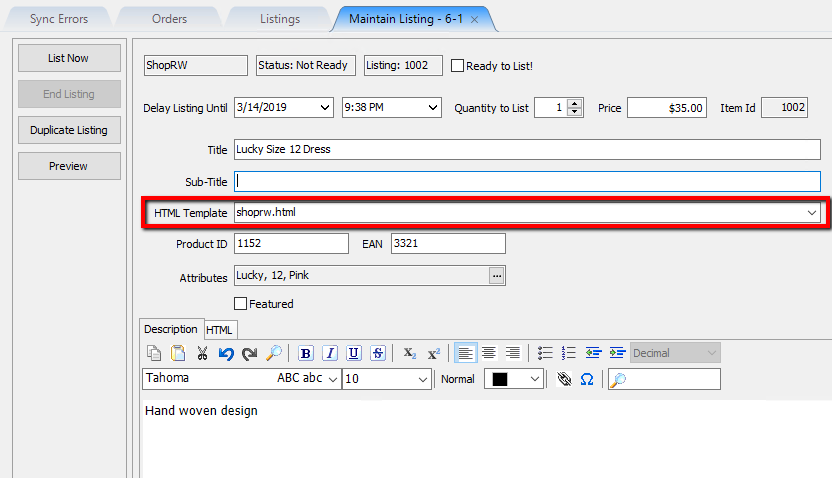
- HTML Template: This is the template that is used when formatting the listing’s text content.
Note:This will usually remain shoprw.html when the listings are going to the ShopRW or Shopify Marketplace.
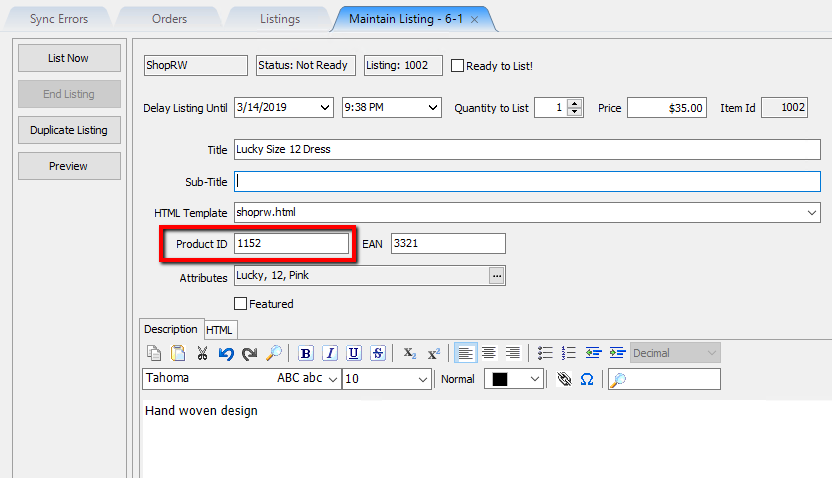
- Product ID: This field is used for eBay listings as a universal field for Manufacturer’s part number, ISBN number or UPC number.
Note:This will only work for eBay listings and is filled out if you plan on pushing the item to both ShopRW/Shopify and eBay.
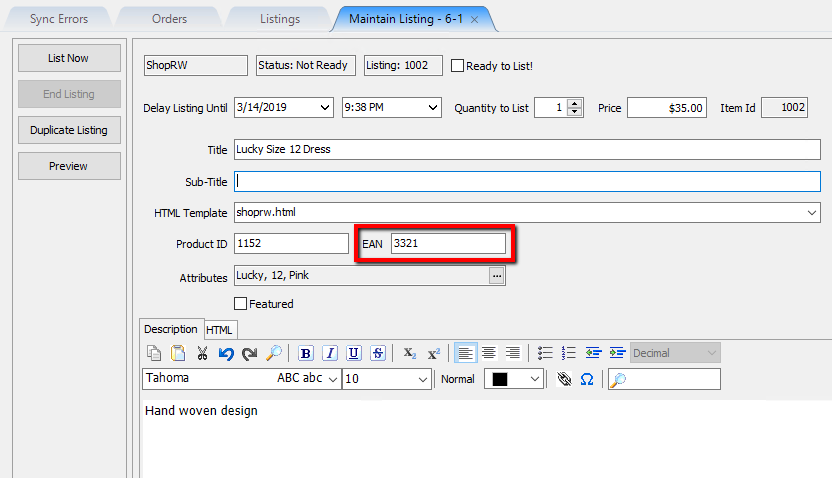
- EAN: The International Article Number is used strictly for eBay.
Note: This will only work for eBay listings and is filled out if you plan on pushing the item to both ShopRW/Shopify and eBay.
- Attributes: Allows you to change the attributes that are entered in for the item, through the Liberty REACT Inventory Module.
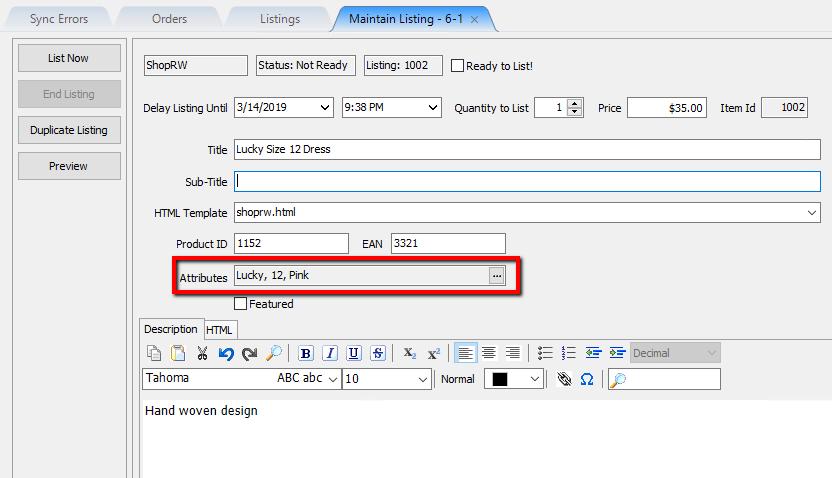
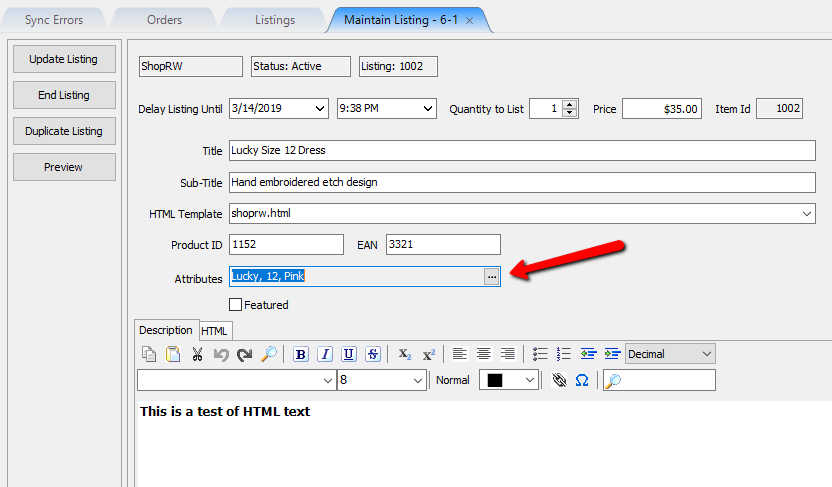
You must click the browse button in order to change the attributes.
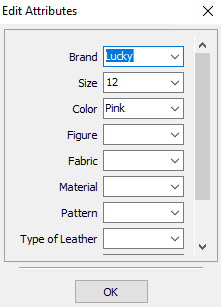
From the Edit Attributes dialog box, you can then change the attributes associated with the item.
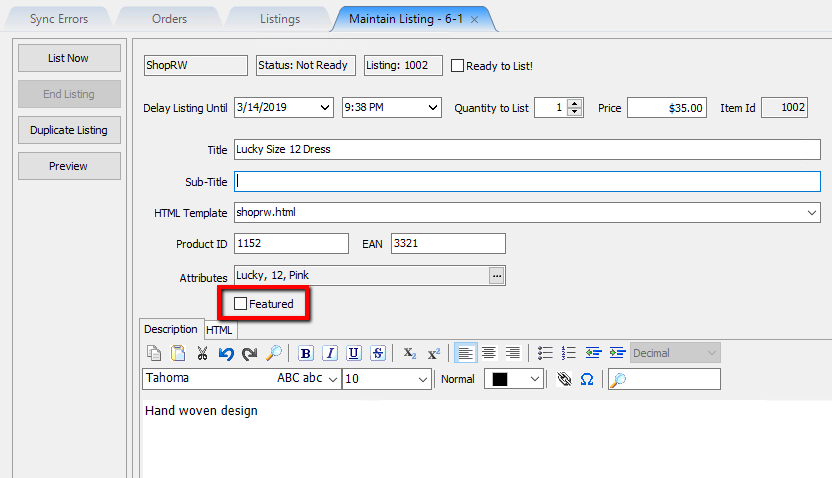
- Featured: Checkmarking the Featured checkbox allows the item to be displayed in the Featured Product area of ShopRW.
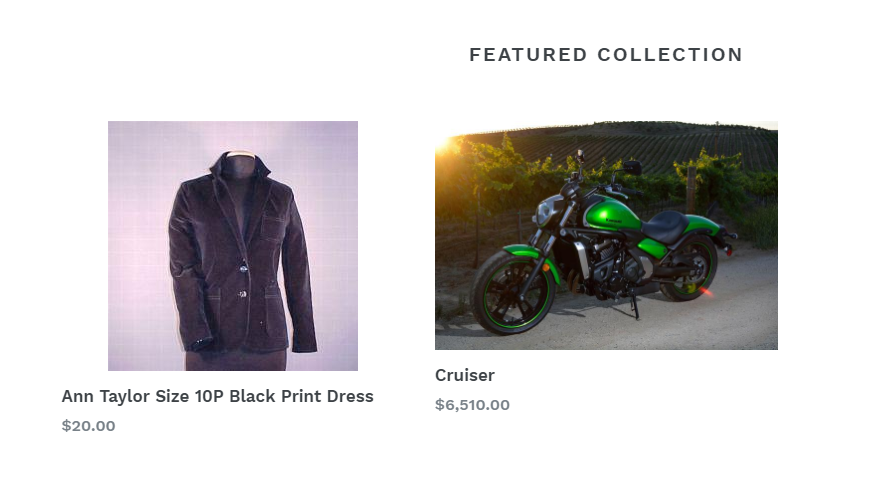
If you are using Shopify, the item will go to your Homepage featured collection by default but can later be changed.
Please visit the Shopify Options page to change what collection these Featured items go to.
By default it is frontpage.
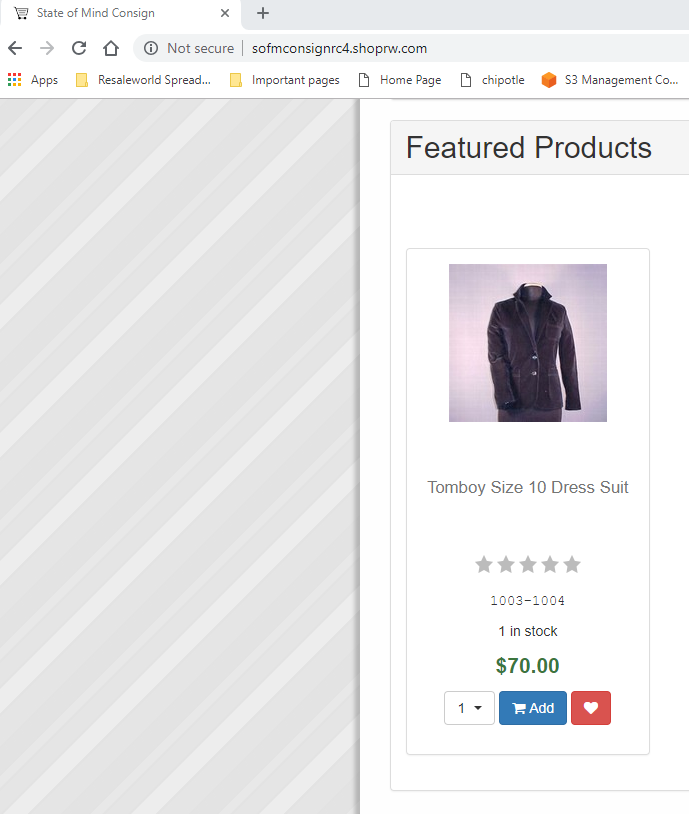
Example - ReCommerce:
Example - Shopify:
- Description: Allows you to type in or change the displayed text description that appears on a web listing. A WYSIWYG (What You See Is What You Get) editor allows you to change the attributes of the text like you would in a word processor.
Note: This description is stored separately from what appears on a tag. Changing this description will not change what prints out on a future tag.
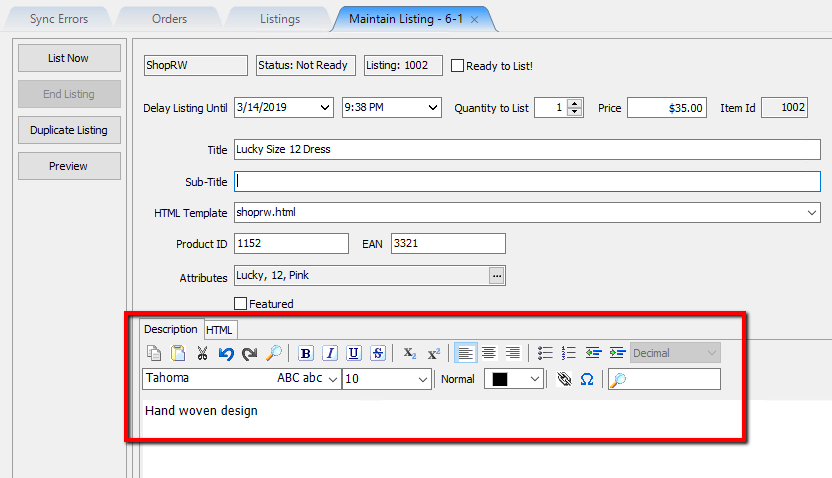
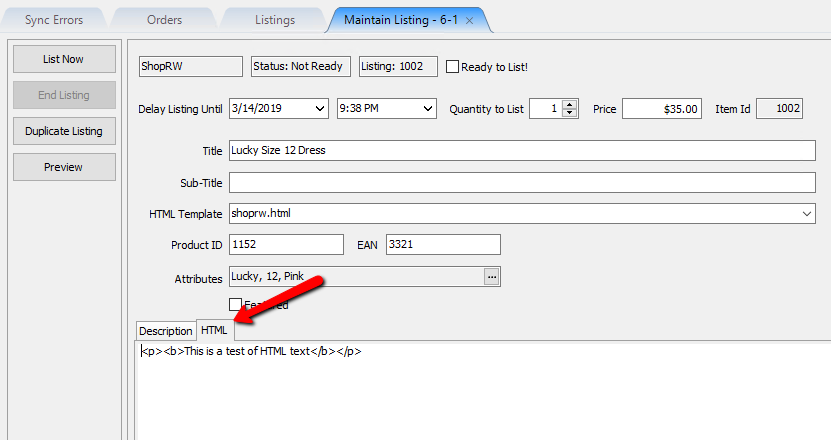
- HTML: If you have web development experience, you can edit the HTML code directly by switching to the HTML tab.


Adding Package Information
Enter the Weight, Length, Height, and Width of a package here.

This information can also be entered using Inventory Module and that information will propagate here when saved and changes in Listing Manager will reflect in Inventory Module
Note: The information will not change in Inventory Module until the item tab is saved and closed in Listing Manager
Dimensional Weight is a calculation used by many shipping carriers. It applies extra shipping charges for items that are light in actual weight, but large in shipping volume.
A warning will appear if your package is oversized, reminding you to check if the shipping service being used will handle a package with these dimensions.

Adding Images To Your Shopify / ShopRW Web Listing
To add images to a listing from Listing Manager open the listing and click the add button on the right in the images frame.

Select an image to add to the listing.
You can select multiple images by using ctrl-click or shift-click.

If your image(s) are larger than 200KB, Listing Manager will give a warning. Click OK to proceed.
Note: It is recommended to keep images smaller than 200KB for web optimization purposes, but larger images are not restricted and will upload normally after the warning message.

Images for the listing will be displayed on the right side and will upload to the website when listing an item or updating a listing.

Setting A ShopRW / Shopify Item To Ready To List
If you are editing a listing that was not ready to list, you can checkmark Ready to List! at the top and click Save.

Note: Items that are set as Ready to List will sync automatically to their appropriate web marketplace after a few minutes and require no further action.
Next Article In Section
Click the following link to move to the next article in this section:
Adding ShopRW / Shopify Package Information
Related Topics
Creating a ShopRW / Shopify Listing Overview Adding ShopRW / Shopify Package Information Adding A Web Description Editing A Web Description in HTML Definitions of Web Description Processor Buttons Previewing a ShopRW / Shopify Web Description Adding Images to Web Listings Deleting Images From A Web Listing Setting a ShopRW / Shopify Item to Ready To List Saving a ShopRW / Shopify Listing How To Create A Shopify/ShopRW Listing
