Table of Contents
Void a Sale
WARNING: Voiding a sale will affect your accounting and should only be performed by a Store Manager.
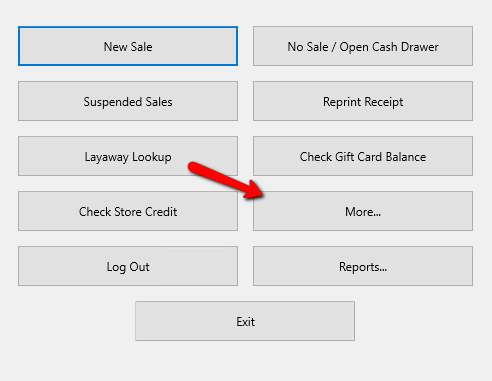
- From the Point Of Sale main menu select the More button.
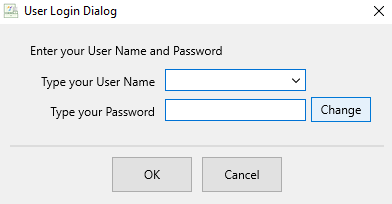
- If Prompted enter your Login Credentials.
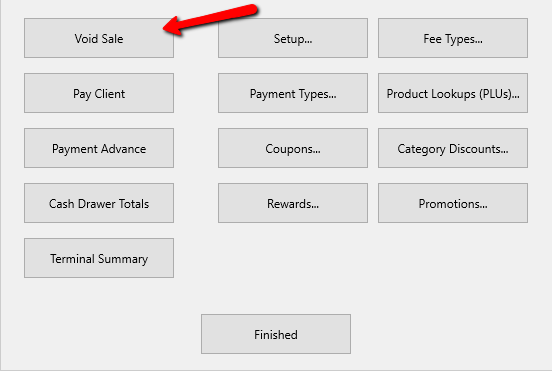
- Click the Void Sale button.
A List of previous sales will be displayed.
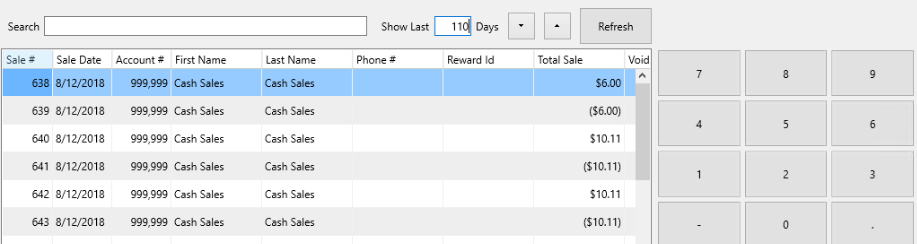
From here there are multiple things you can do to manipulate the data to find the sale you need to void.
Clicking on the different headers will sort the sales by those headers.
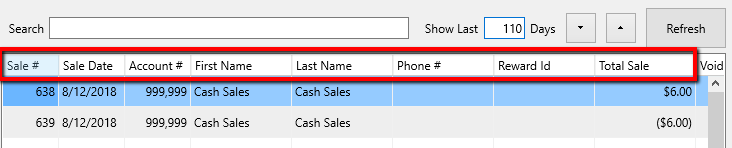
Use the Search tool at the top to find a particular sale.

Highlight a sale and view the details of that transaction in the lower right hand corner.
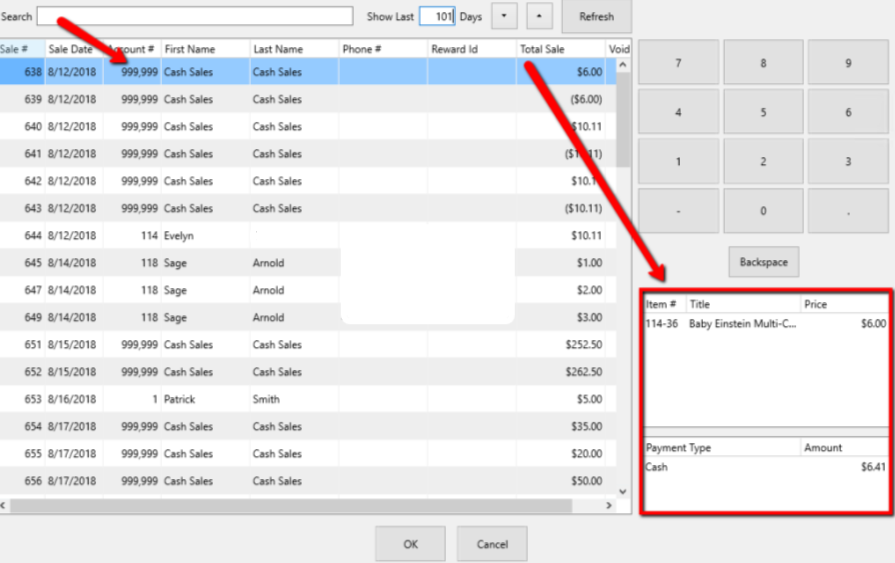
Note: If a sale is processed without adding a customer to the sale, the default account number will be 999,999 and the account name will be Cash Sales. This Does Not Mean the sale was paid for in cash. - Once the desired sale has been selected, click on the OK button at the bottom.

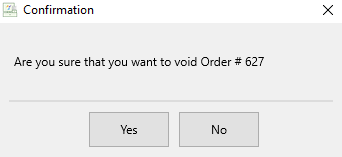
- A Confirmation box will appear. Click Yes if you are sure you want to void the sale.


If a receipt printer is configured, a receipt will print.
Next Article In Section
Click the following link to move to the next article in this section:
Pay a Client In The POS