Table of Contents
Quick Item Entry in POS
Use Add Item in POS to add items to Liberty Inventory from Liberty POS. This feature is useful if you have store inventory that you do not want to add to Liberty through the Item Entry window and do not plan to sell on the Web.
To Add Items From PoS Using Quick Item Entry
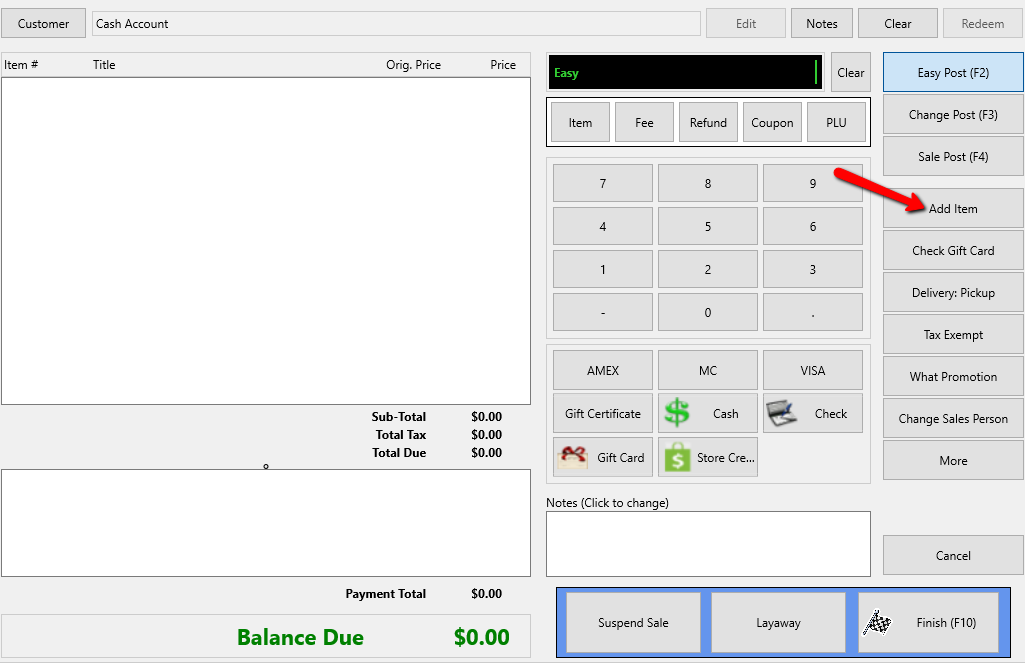
- From the main menu in Liberty POS, select the Add Item button.
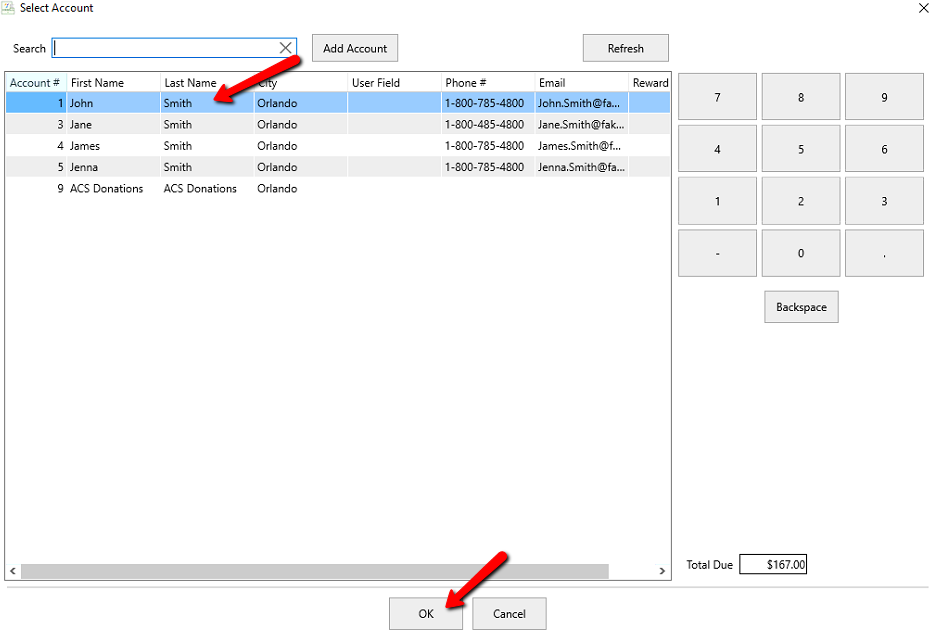
- An Account List will open. Highlight the account you wish to add the item to and select the OK button at the bottom. If you have Add Item Defaults setup, then the desired default account will already be highlighted. Just select the OK button at the bottom or press the Enter key.
Note: See Below on how to configure Add Item Defaults.
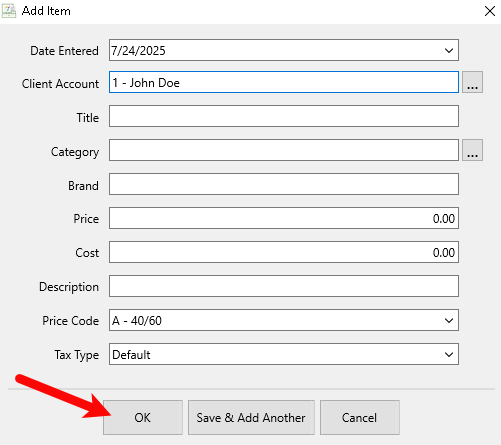
The Item Entry Window for the POS will display.
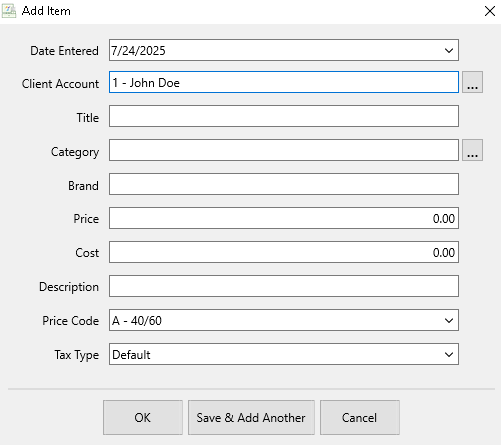
- Date Received : The date the item is considered entered on. The received date can be changed by selecting the dropdown button in the Date Received field or by deleting the current date and typing in the desired date.
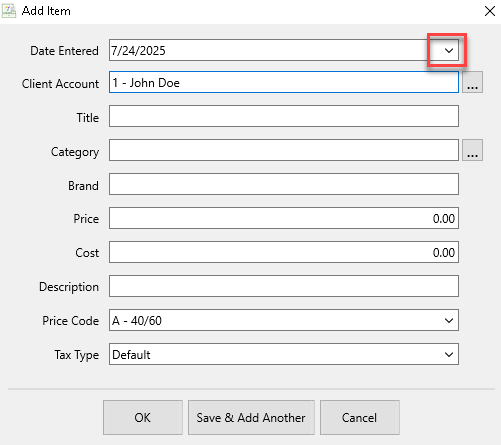
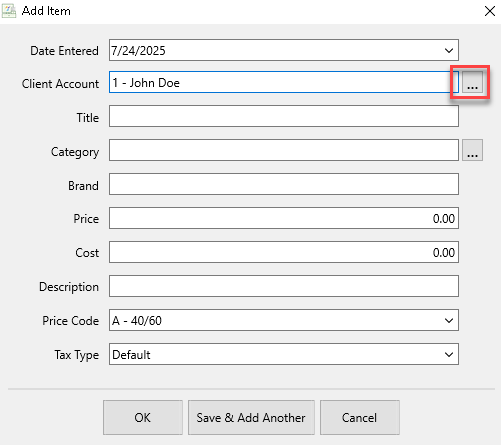
- Client Account : This is the account the item will be assigned to. If the account needs to be changed, select the Browse area of the client account to get a list of accounts to choose from. This will reopen the account list to select another account.
- Title : allows for a more descriptive title
- Category : This is the category the item will be assigned to. The Category can be changed by selecting the Browse Are at the end of the Category field. This will open a Category browser. You can use the Back and Next buttons to navigate through the different Category Levels. You can use the Filter field to help find the desired category within that level. Once you find the desired Category, select the OK button at the bottom.
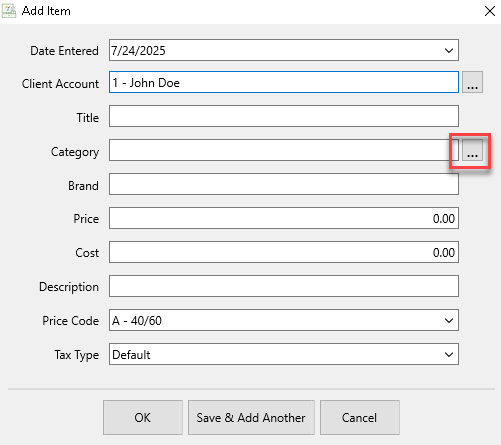
Note: If you are using a 2 or 3 level category structure, you must select one of the lowest level categories or you will not be able to create the item. - Brand : This will define the brand of the item.
- Price : The price the item is to be sold for.
- Cost : If there is a cost associated with the item, it is entered here.
- Description : A description of the item is entered here.
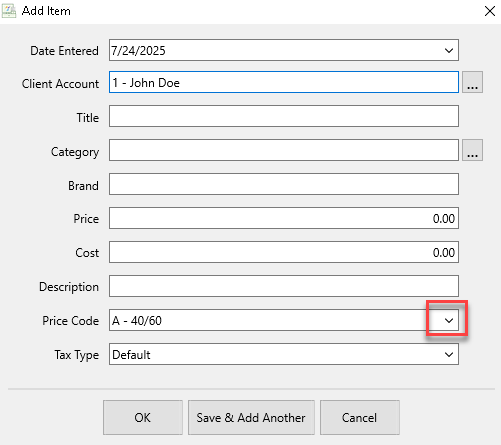
- Price Code : Set the price code of the item. If the Price code needs to be changed, select the Dropdown in the Price Code field to select a new Price Code.
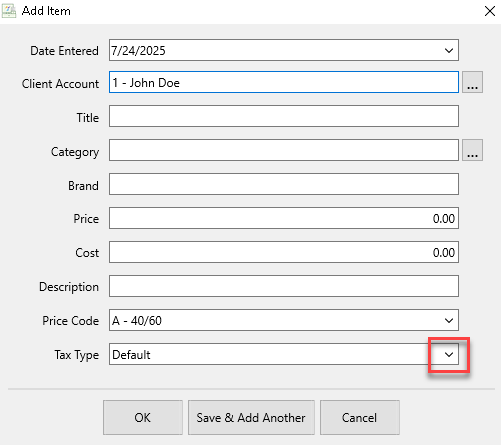
- Tax Type : The Tax Type will default to the Tax Type associated with the category. If the Tax code needs to be changed, select the Dropdown in the Tax Code field to select a new Tax Code.
- Press the OK button when all the fields have been filled out.
The item will be added to the Point Of Sale.
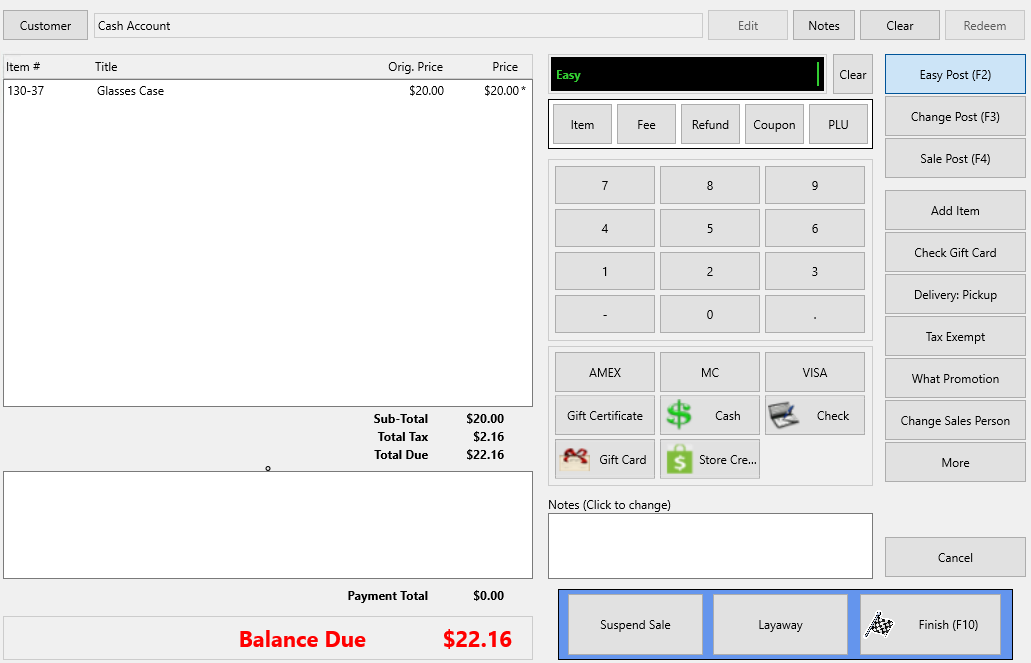
- Enter in the Payment Amount, Payment type, and select the Finish button when done.


Set Add Item Defaults
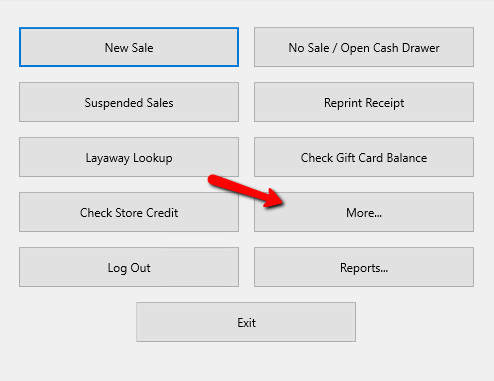
- From the Point Of Sale Menu select the More button.
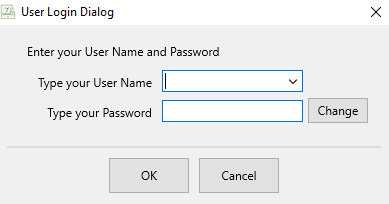
- Login using your credentials if asked to.
- Select the Setup button.
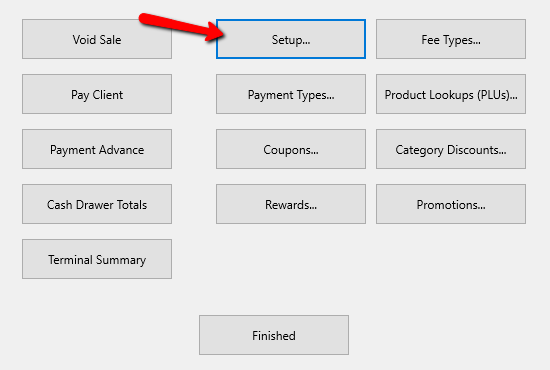
- Login again with your credentials if asked to.
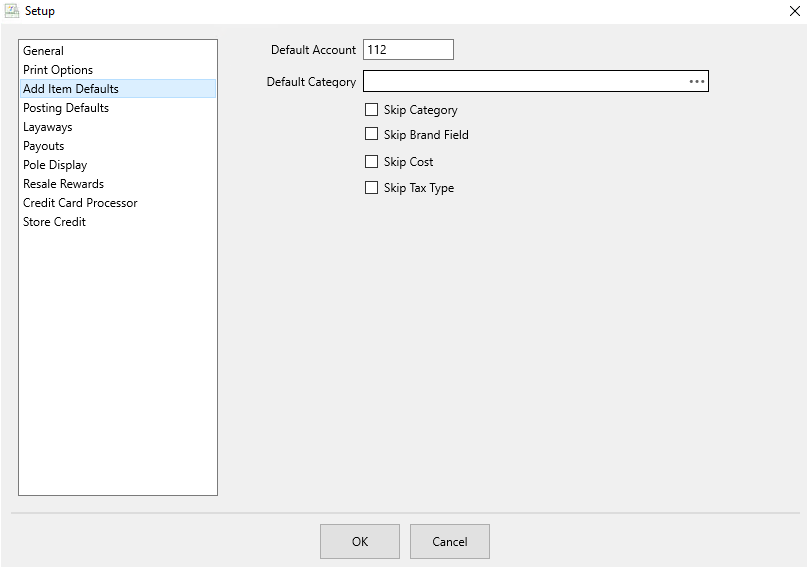


- Default Account Number : When adding items to the Point of Sale, this is the account number you wish to be the default for adding the items to.
Note: Items cannot be added to Retail Accounts from the POS. Only consignment accounts.
- Default Category : This will be the default category an item is added to within the POS.
- Skip Category : Checking this box will skip over the need to add a Category to an item when entering in the POS.
- Skip Brand Field : Checking this box will skip over the need to add a Brand to an item when entering in the POS.
- Skip Cost : Checking this box will skip over the need to add a Cost to an item when entering in the POS.
- Skip Tax Type : Checking this box will skip over the need to add a Tax Type to an item when entering in the POS.
Next Article In Section
Click the following link to move to the next article in this section:
Using Category Discounts in POS