Table of Contents
Pay a Client In The POS
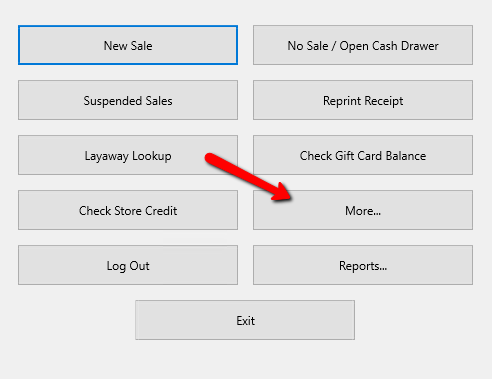
- From within the Point Of Sale click on the More button.
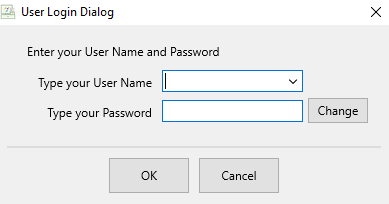
- If prompted to log in, enter your credentials.
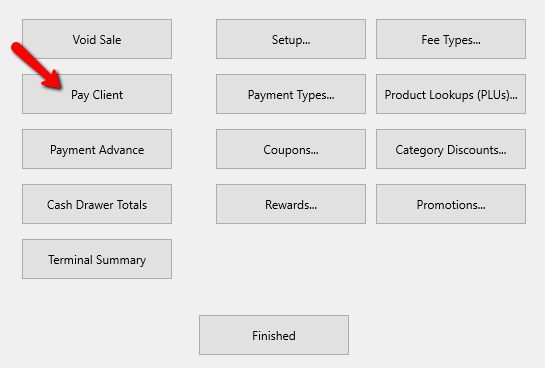
- Select the Pay Client button.
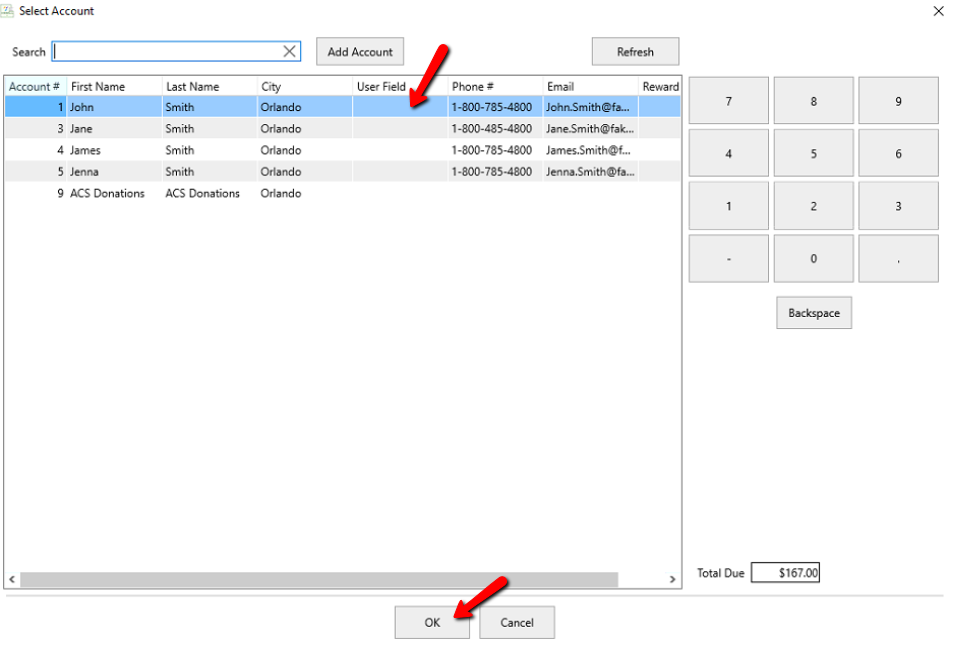
- Search for the account you wish to pay and double click their account.
The Prepare Payout screen will appear.
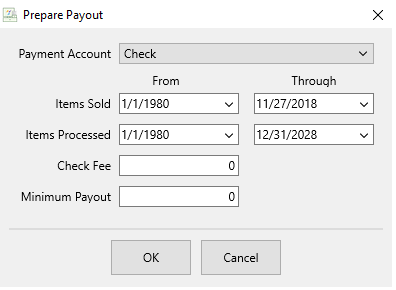
- Payment Account: Select the Bank Account to pay from or select a cash account if paying the account holder in cash.
- Items Sold: Use these fields to limit the payment to include only specific dates. To place a hold on a transaction or transactions so a consignor is not paid for a specific item at this time, see the section entitled Transaction History.
- Items Processed: Use these fields to limit the payment to include only items that were put on the floor.
- Payout Fee: Enter the Payout (Check) Fee, if any. The amount of this fee will be deducted from the payment.
See Payout Preferences to set or change the default Check Fee. - Minimum: Enter the minimum amount for which a payment may be made. If the account holder is owed less than the amount entered no payment will be made.
- Once you have all the fields filled out, click the OK button.


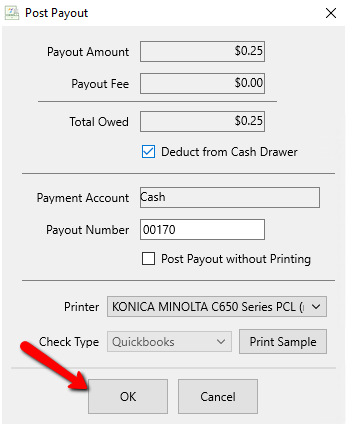
The Post Payments Dialog Screen
- Payment Amount: Amount to be paid out before fees.
- Payout Fee: The Amount deducted from the payout.
- Total owed: The Amount paid out after fees.
- Deduct From Cash Drawer Check Box: If making a cash payment, this field can be checked off to take the money from the cash drawer.
Note: The Deduct From Cash Drawer Check Box will not be accessible if you are doing a check payout. This feature is for Cash Payouts only. - Payment Account: This is a confirmation of the payment account selected to process the payout.
- Payout Numbers: Number of the payout to either be printed on the check, or assigned to a cash payout. If printing checks, verify the number matches the check you are about to print on. You may need to manually change this number.
- Post Payout Without Printing Check Box: Select this box when checks are to be posted but not printed. An example of when this would be used is when payouts are handwritten.
- Printer: By default this should be the printer you have preconfigured for printing checks. You can change this printer by clicking the drop down menu and selecting the printer you wish to use.
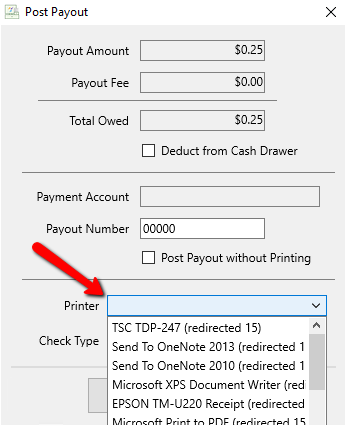
- Check Type: If paying by check, select the type of check.
- Quickbooks: Quickbooks checks have a check at the top of an 8½ x 11 page, and two stubs below.
- Laser/Inkjet: laser/Inkjet checks have a check in the middle of an 8½ x 11 page, with a stub above and a stub below.
Note: Contact Resaleworld to order checks for use with Liberty. Checks ordered from Resaleworld are guaranteed to work with Liberty. Checks ordered from other sources may not work. See Ordering Computer Checks from Resaleworld for more information. - Print Sample button: Select this to print a sample check. This is useful to make sure checks are lined up and the printer is working properly. (No inventory information will be printed on this sample check).

- Press the OK button to finish the payment, or Cancel button to stop and start over.
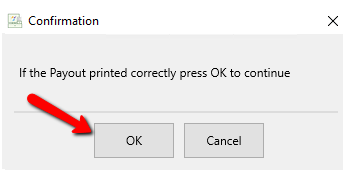
- You will get a confirmation box making sure the print out printed correctly. Press the OK button if it did, press Cancel if you need to redo it.


If you make a mistake, follow the instructions provided in the section entitled Reverse a Posted Payment.
Next Article In Section
Click the following link to move to the next article in this section:
Default Cash Payouts Done In The POS to Post Only