Table of Contents
How To Add Your Own Pre-Paid Statuses
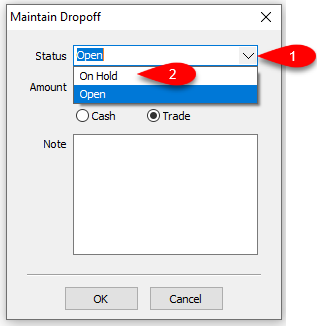
The currently available statuses are Open, Closed and Rejected. You can create your own Pre-Paid Statuses if you want to have custom options.
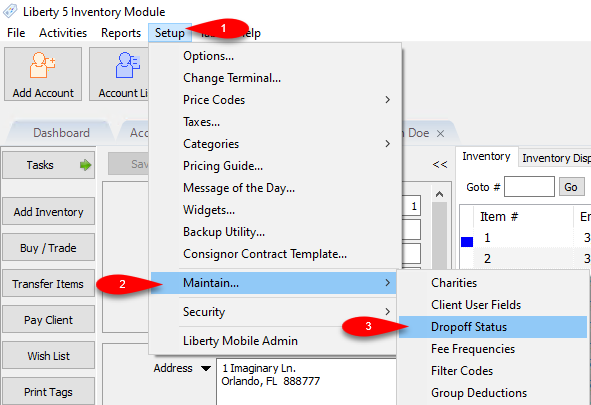
- Open the Liberty REACT Inventory Module, then click on Setup > Maintain > Dropoff Status.
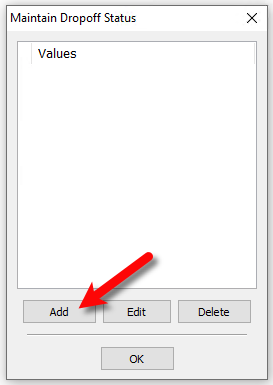
- Click the Add button.
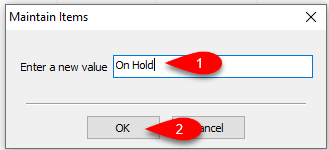
- Type the New Status you want to use. In the below example, we used On Hold.
Click the OK button.
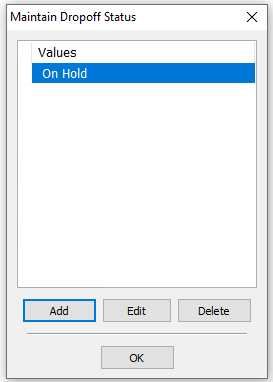
- You will now see the new status added to the Maintain Dropoff Status dialog box.
- Next time you add a Dropoff, your new status will be available to use.


Next Section Navigation Link
Click the following link to see a list of articles for the next section:
Speeding Item Entry
Related Topics
How To Add Your Own Pre-Paid Statuses Pre-Paid Buys Overview Turning on Pre-Paid Buys Creating A New Pre-Paid Buy Creating A Payment For Pre-Paid Buy Adding Items For A Pre-Paid Buy How To Process Inventory For A Pre-Paid Buy Printing A Receipt for a Processed Pre-Paid Buy How To Edit A Pre-Paid Buy How To Delete a Pre-Paid Buy That Has No Cash or Trade Transaction Added Using the Wishlist